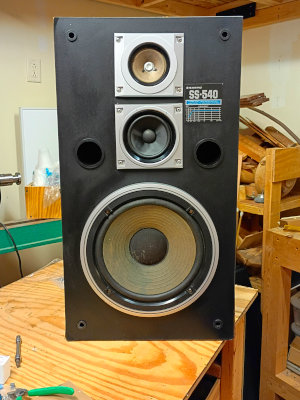
Sanyo SS-540
I picked up a cheap pair of speakers at a garage sale this summer to use, appropriately enough, out in the garage. They're pretty basic, the cabs are a bit water damaged, and the mid-ranges were blown, but for $25 I got a good enough base to work off of to make a pretty okay-ish pair speakers for playing loud outside. They certainly aren't exceptional, but that's perfect for my purposes. I need something cheap and basic to kick around and experiment with.
plan
- Clean - all surfaces are gross and must be cleaned.
- Driver updates - Replace the blown midrange drivers with inexpensive, robust units with a broad frequency response range.
- Electronics - Replace the very simple filter capacitors with an actual crossover network. Nothing fancy, just a simple first order crossover. Maybe pad the tweeters.
- Damping - Replace the nasty damping material with fresh stuff.
- Cab - Glue down peeling vinyl. Maybe refresh the grill cloth.
what we're working with
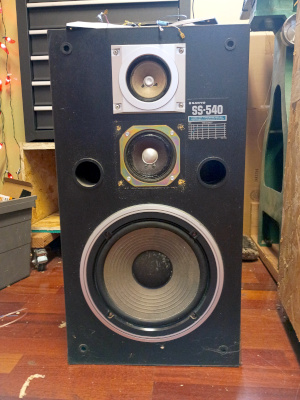
Not pretty, and pretty grimy. Peeling faux woodgrain vinyl "veneer"? Check. Mysterious filmy coating of cigarette smoke and general nastiness? Check. Super cheap paper cone drivers? Check. Lightly water-damaged particleboard cabs? Check.
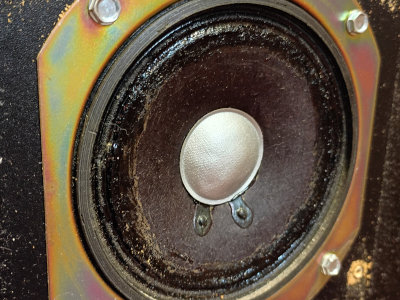
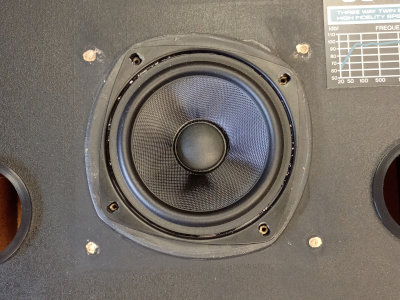
You can see were I pulled the vanity trim ring from the midrange to inspect it. Both mid-range drivers suffered from the same failure. The cones effectively have no surround - just a crease in the paper cone where they meet the frame with a thin rubber-ish coating. The paper fatigued and they split around the edge. On this unit you can see an old, messy repair attempt and the general nastiness covering everything.
cleanup and inspection
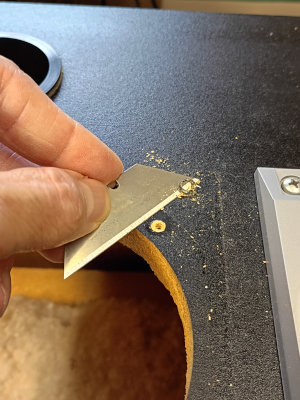
I started with a quick sound check after acquiring them to determine how bad the drivers were. Thankfully only the mid ranges were blown. I removed the trim rings and pulled the drivers to complete the cleaning and access the interior. I also used a razor to clean up the warts left by the screws where the wood was lifted during factory install. After cleaning every hard surface with a combo of Simple Green and Spray Away foaming glass cleaner they looked and smelled much better.
I also cleaned the speaker cones gently with a soft brush dipped in a little Simple Green solution. The key is gentle pressure and minimal cleaning solution to avoid damaging the paper cones. The brush does most of the work. The decorative trim rings cleaned up nicely with a little simple green and some plastic polish.
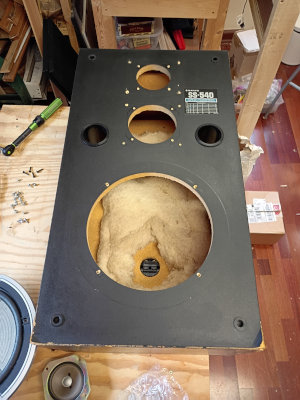
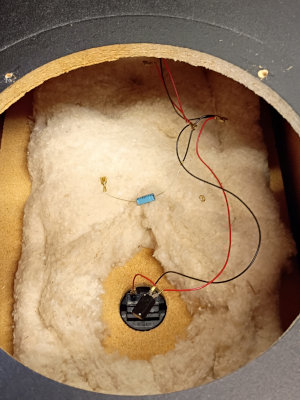
Thankfully the moisture damage didn't make it to the inside of the cabs and they were clean and mold free. The cotton blend damping batts, however, had absorbed a riot of musty odors so were quickly removed. The wiring was as expected - thin, with a couple of small filter caps on the tweeter and midrange.
midrange upgrade
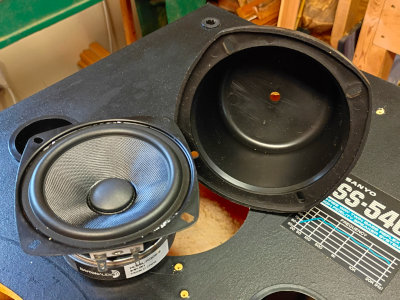
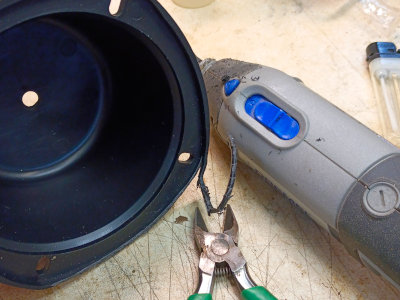
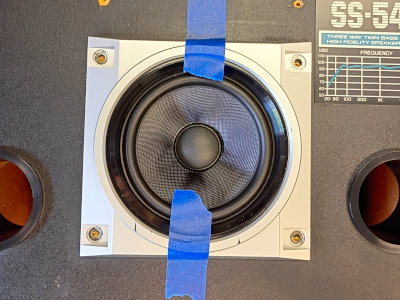
I started by sourcing replacement mid-range drivers. I chose a pair of Dayton Audio PC105-8 4" Full-Range Poly Cone Drivers. The dimensions were about right and the specs looked solid. The main issue is that they are open-back full range drivers. Pressure from the woofers would interfere with them, so I mounted them in rigid plastic baffles. It's not the most elegant solution but it worked well. The opening were just big enough to fit the baffles, but I did have to trim the flange around the edge of the baffle to allow the trim ring to fit. I also canted the baffle at a slight angle to avoid the old screw holes which I plugged. The alignment was tricky, but with some patience I got them dialed in well so the surrounds cleared the trim rings without interference.
electronics
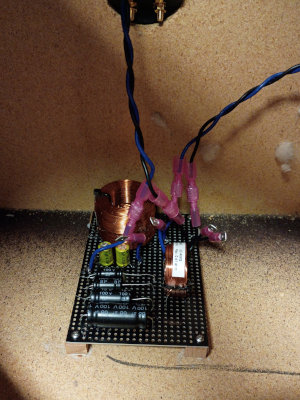
I want to be able to play these speakers loud if needed. That means keeping unwanted low frequencies out of the tweeters that can cause excessive excursion and power dissipation. A crossover network will be better protection than a filter cap. I also chose midrange drivers with much higher power handling than the old drivers. Since they can handle more power I designed a network with a wide-ish 4 ocatve "mid-band" from 300 Hz to 2400 Hz so the mid ranges are getting a bigger share of the power.
Yes, it's only a first order network- I know a second order would offer much better protection for the tweeters, but these are supposed to be relatively "budget" speakers. Inductors in the values needed for crossover networks are pricey. I also used cheap electrolytic caps. Again, these are going in a garage, not a dedicated hifi listening room. And I'm not shelling out for film caps for an experimental setup.
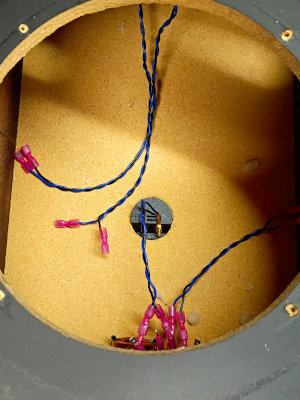
For wire I used good 16 gauge twisted pair copper. Overkill, but if I ever recycle parts out of these cabs it will be good salvage. I also replaced the cups with banana plug/binding post combos. Everything inside the cabinets is connected together with spade clips. That way if I decide to redesign and rebuild the crossover boards or replace drivers I can pull the guts without having to desolder stuff.
aftermath, part 1
A shot of one of the cabs after cleaning, midrange install, and rewiring. Less janky, still rough, but sounding much better. I like the results with the crossover installed. The drivers are less muddy. The tweeters are much brighter (and louder - I need to add an L-pad to knock a few dB off) and the bass is much clearer. On the first test run the woofers were clearly playing frequencies well into the tweeters' range which of course came out as a bunch of mush. The replacement mid range drivers are working out extremely well. They don't overpower the other drivers at all but they are clear and strong.
I still need to add some damping material on the interior to deaden the cabs. I'll also take a look at the peeling veneer and rough cab corners. And design and install the L-pad for the tweeters. More to come in part 2!