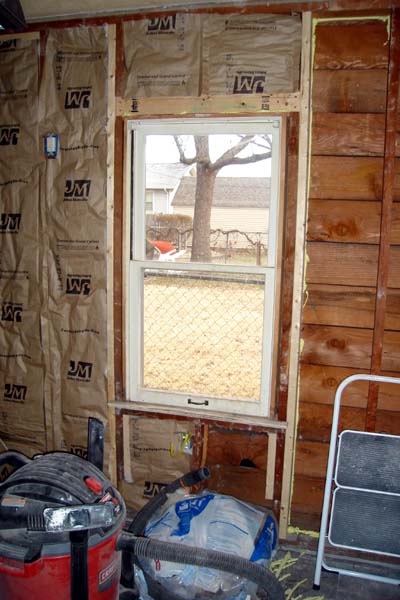
shop rehab 2008
When we first moved in to our current house we took on several large renovation projects. One of those was remodeling the workshop attached to the garage. The original structure was built in 1945 as the house. Additions were made in the 50's, including the workshop space (originally a bedroom), and eventually it was converted to a garage and a new house was built in 1965. The 50's additions were un-insulated and the electrical was ... iffy.
January 28th
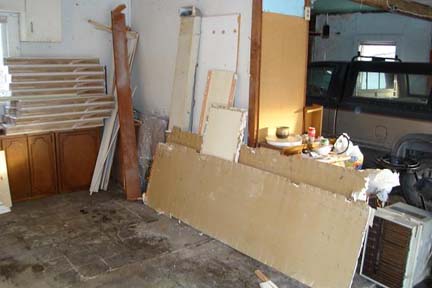
View into the shop from the garage
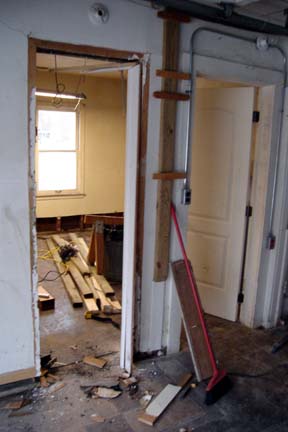
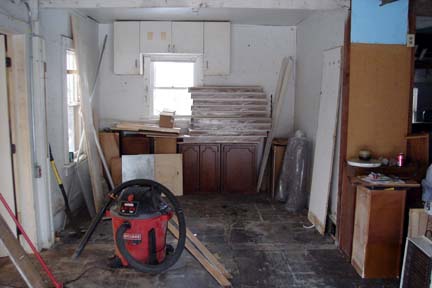
View out of the shop. I've knocked out a particle board panel filling an old doorway at this point.
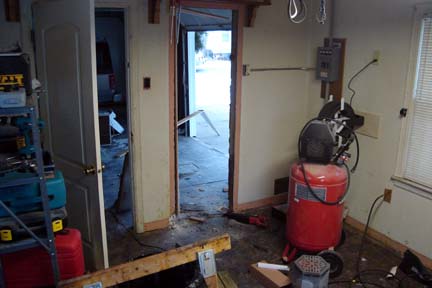
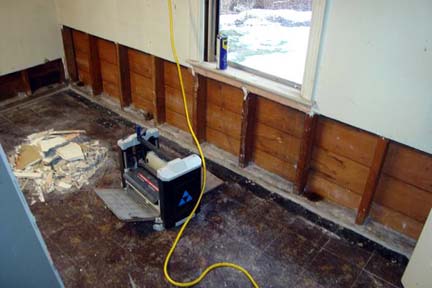
North wall. I've removed the A/C unit from the window and removed a large section of wallboard for exploratory purposes.
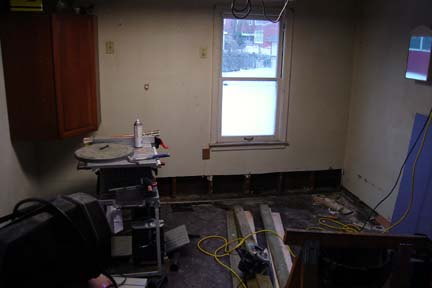
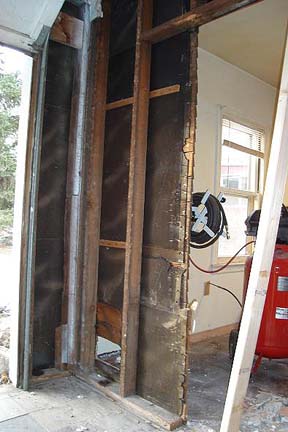
South wall from outside the shop.
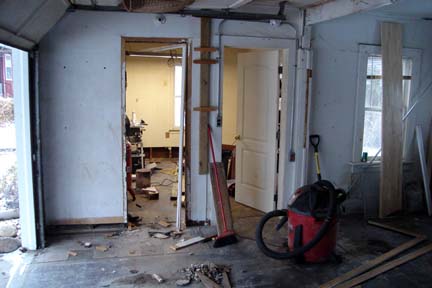
Shows the construction detail. Studs are all good quality fir, mud sill is bolted directly to concrete. No insulation, sheathing is solid wood, not ply.
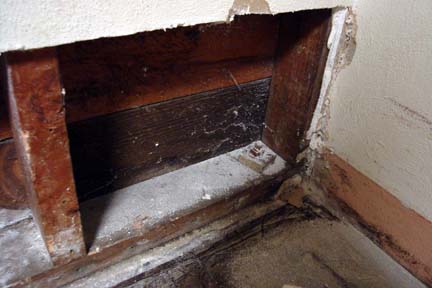
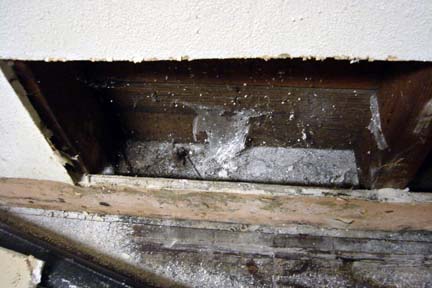
Stuff you fnd inside walls- dust, spider webs, dead bugs. Note the discolored wall board. Mold was lingering behind the trim and inside the wall, but was confined to the lower few inches. The open wall cavity likely provided good air flow, helping dry any moisture fairly quickly. Unfortunately, the wall board and sill are in direct contact with the cement slab and are continually supplied with moisture. My goal is to knock out the old sill and replace with pressure treated lumber if it is in really bad shape. If the walls are in good enough shape I'll try jacking them up a bit and place a closed cell foam product between the concrete and sill- it will prevent moisture wicking into the wood and put an end the the mold issue. Then I can insulate the wall cavity, making heating and cooling far easier.
The garage is full of crap right now- cupboards from the kitchen, an A/C unit, the bathroom sink.
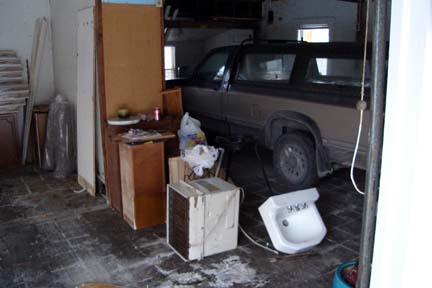
More stuff. The new shop floor is piled on the East wall on top of more old kitchen cabinets. I'll be using the old cainets in the shop for tool and supply storage.
January 29th thru February 3rd
The wallboard covering the siding was nailed around the edges so I was able to preserve it large chunks for reuse. I can trim off the borken edges with a utility knife.
The south wall after two days of demo.
I removed the lower 24 inches of drywall from the East and West walls inside the shop. The sill is in good shape on both walls, but there are roots coming through the gap between the sill and sheathing.
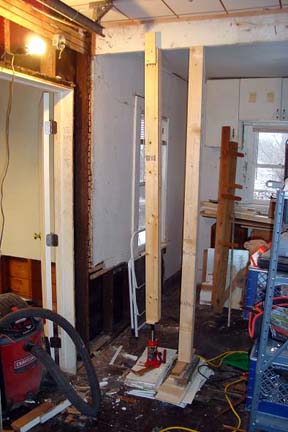
Here I've got the bottle jack in play, giving a boost to the beam that supports the ceiling joists. The beam was poorly supported by some hastily installed jack studs. I have to remove those in order to repair the shop's South wall.
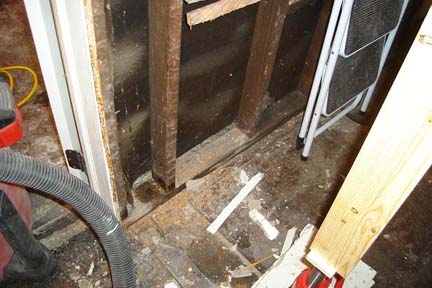
You can see by the dark color of the sill and studs that this wall has suffered some water damage. In fact the sill was wet when I cut into the wall and the plaster crumbled away from the lathe. I took a cross section of the sill and surprisingly it is solid so if I can I will install sill gasket and leave the exisiting material intact.
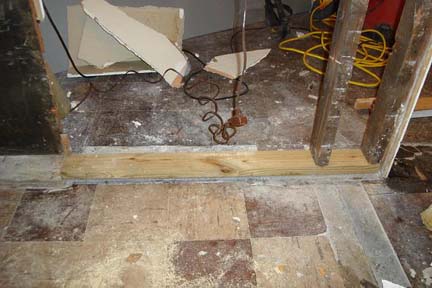
In this photo you can see the new jack studs supporting the beam, some new sill patched in, and the bottle jack lifting the wall from inside the doorway. I'll probably replace the beam at some point this week as it is structurally insufficient. It is too short, hence the extra bit of blocking at the top of the jack studs, and it is only 1.5 inches thick. For that span it should be a double thickness of dimensional lumber.

A close up shot of the patched sill. The missing portion is filled with treated lumber and a gasket. With the sills repaired I'll be able to replace structural members. After that I can finish off the electrical work and insulate.
February 4th
The South wall with modern pine framing- so different compared to the old rough sawn fir. Now I can make with the electricity.

Construction is messy.

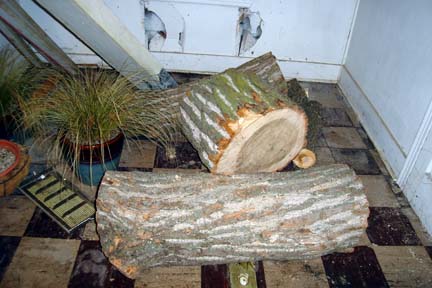
Mel and I were checking on the plants at her Dad's house and on the way to the Home Depot to pick up some supplies, we passed a crew pulling down an absolutely massive Cottonwood. I estimated the bole at 45 inches. Oddly, it was healthy, through and through. The logs were just huge. The crew was moving them with a mini skid steer. I may have to mount a winch in the bed of my truck so I can haul in 400lb logs.
March 26th
I've been making good progress in the shop in the past few weeks, adding new framing, insulating, finalizing the electrical, and stocking sheetrock for finishing the walls. I've even drafted a new floor plan for arranging tools, benches and storage in what I feel to be an efficient work layout given my available space.
A view of the framing for a bump out to surround the electrical panel and entrance conduit. I've been using torx drive construction screws to instal this latest framing- I've found them to be superior fasteners to nails. They are strong, install quickly and hold faster.
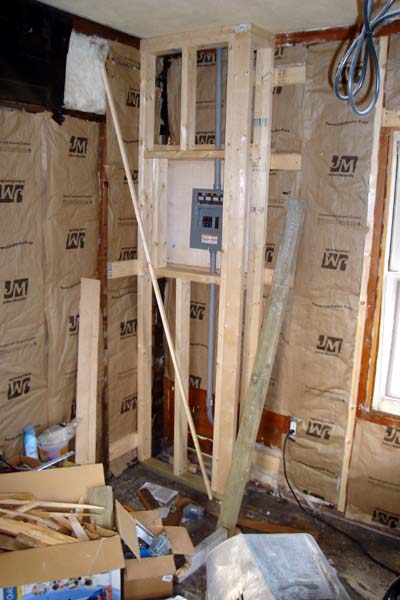
I removed the sheetrock from the walls and shored the framing around the windows to improve the structure. I'm insulating with formaldehyde free fiberglass. It has a fairly high energy content, but the installation is quick and requires no special equipment.
