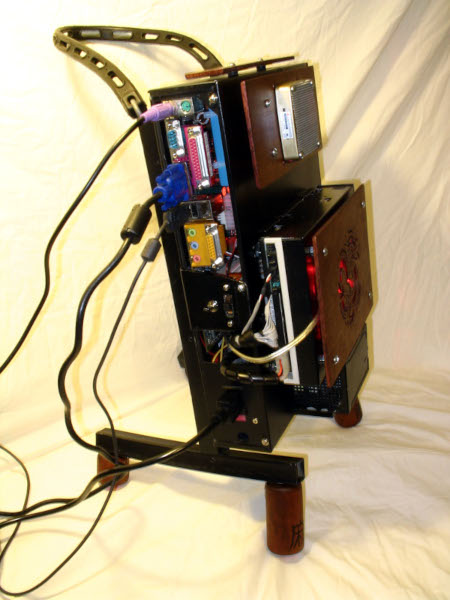
dragon
This is the only one of my case mods that I still have. It's currently in storage in the shop. A few years ago I performed a power test, and it did post, but that's as far as I pushed it. Recently, I opened the case for an inspection and to determine what CPU is currently installed. The inspection revealed a number of bulging caps - the early 2000s capacitor plague strikes again. And of course it's mainly the out-of-production ultra-low-ESR units. If I recap the mobo I'll need to source polymer film replacements. Tech Tangents has a nice video on recapping an Abit BP6 of a similar vintage with the same flavor of caps. And if I do recap, I'll try to post info for my nForce based NV7M on the Caps Wiki site.
sections
introduction
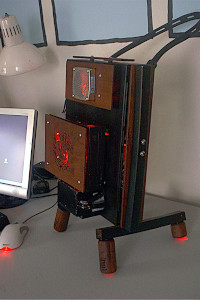 From the Drupal version of USL, dated January 2005:
It was summer 2002. NVidia’s GeForce 4 was king, water-cooling was appearing everywhere (even an XBOX!), and LAN parties were on the rise nation wide, spurring news coverage. Having a dedicated road machine was more than a little tempting- after all, hauling 75 pounds of unwieldy PC parts is a pain. Notebook PC’s were finally shipping with processing and graphics chips that could handle the latest games, but the prices were less than affordable. I needed a better solution, and the introduction of the nForce chip-set gave the opportunity to build a powerful, portable and inexpensive gaming computer. Of course, finding the right hardware was the easy part- packaging everything into the smallest case possible was the real challenge. I had recently received a defunct DVD player, and as luck (and a little modification) would have it, my new motherboard could fit inside its lightweight steel chassis. With all the pieces in place, I could finally have my portable PC.
concept
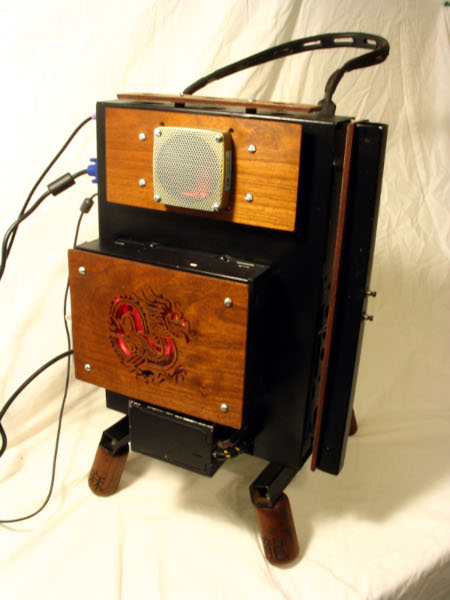
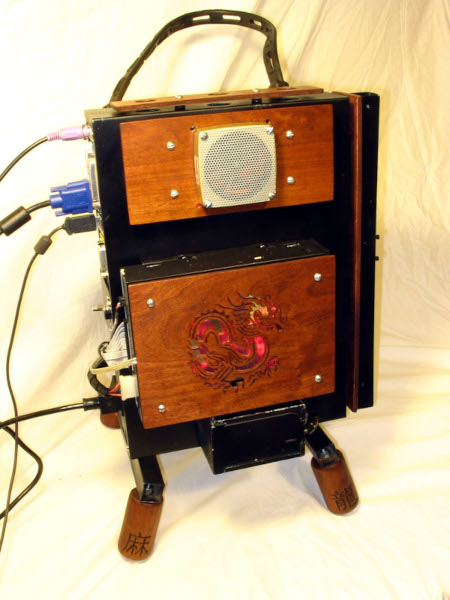
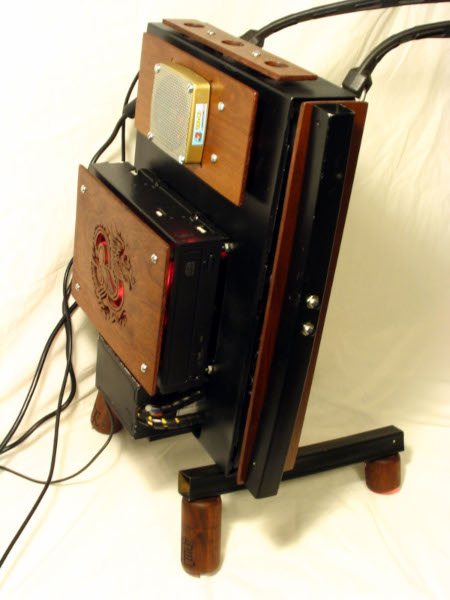
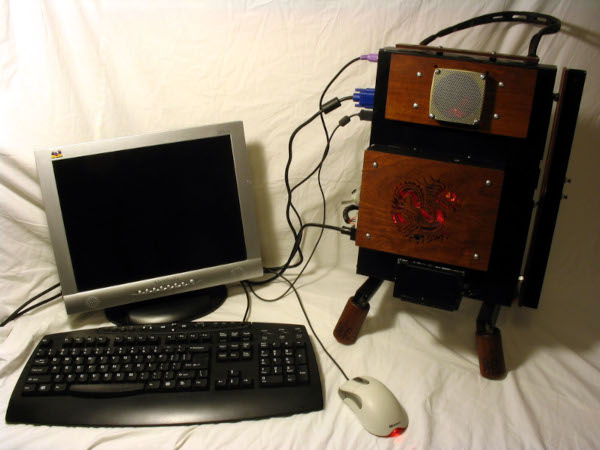
Designed for portability, the ultrascience dragon features a custom built case, cherry wood decorative elements, and a modern, minimalist design. The end product is a versatile, powerful, and inexpensive machine with a unique custom look.
12 / 08 / 02
Cold cathode fluorescent and LED lighting will be added soon. In the meantime, the images and content have been updated for consistency in light of the ultrascience site rebuild which is underway.
10 / 15 / 02
The LAN box is essentially complete. I might add a few things later, but it is together and functioning.
08 / 30 / 02
I've got updates for cutting and paint. Electrical is in the works. Some of the pictures aren't up yet, but the text is basically complete. I'll fix spelling errors and such- later.
08 / 29 / 02
Whew! It's been a lot of work, but I've managed to get the metal cutting done and most of the wood cutting. I have a bit more more carving and latheing to do, but a good portion of the painting is done. With that, I leave you with tons of new eye candy- enjoy!
cutting
DOA DVD player serves as the chassis.
The DVD player internal dimensions were the absolute minimum required to hold the motherboard.
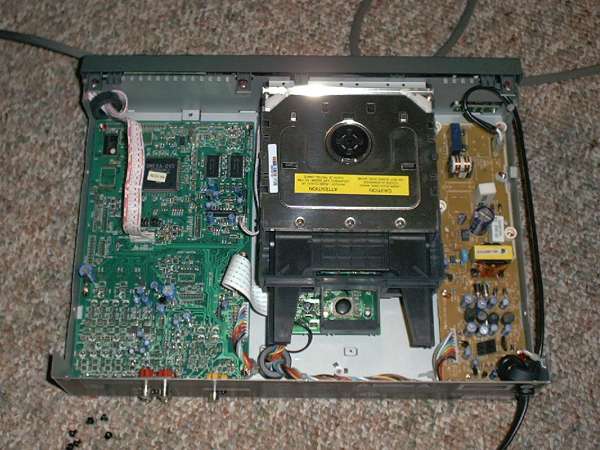
Mike with a screwdriver removes the guts.
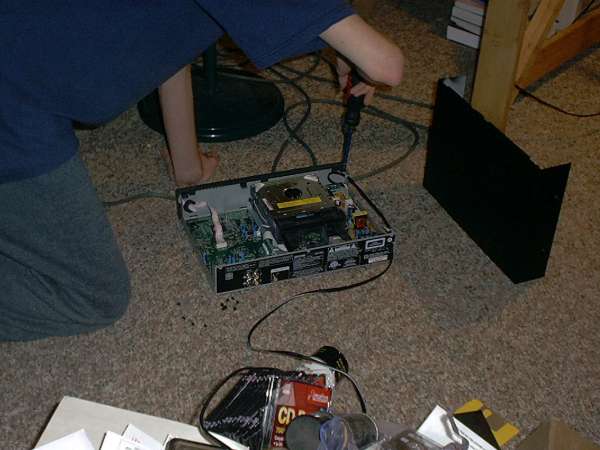
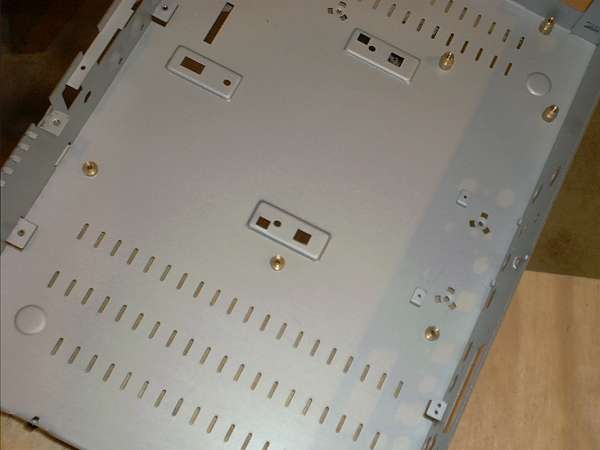
The bare chassis. At this point, any mounting studs, metal tabs, etc... are removed.
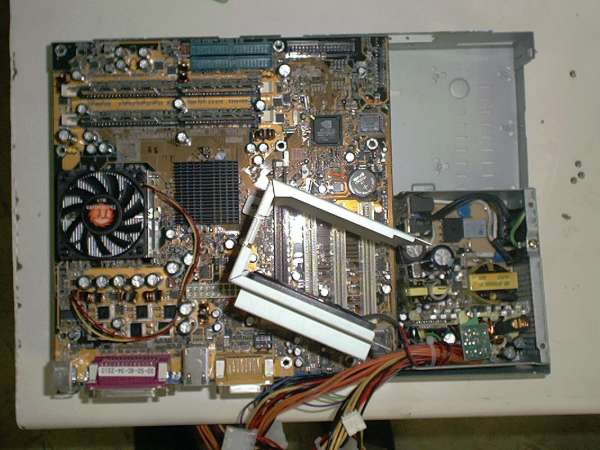
Inserting the motherboard
A test fitting helps to determine the final location of the motherboard and power supply and whether any further chassis modification is required.
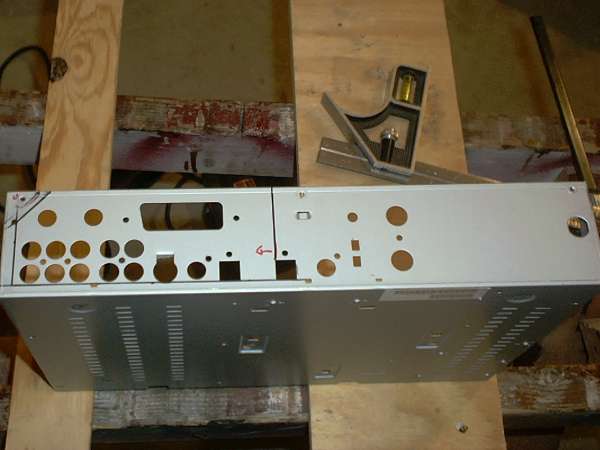
The back panel requires modification for port compatibility.
At this stage, the motherboard can be inserted and the motherboard mounting points located on the chassis.
Bolts are used to support the motherboard.
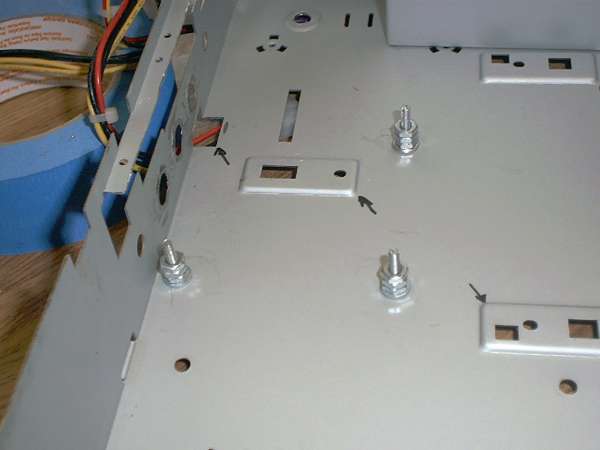
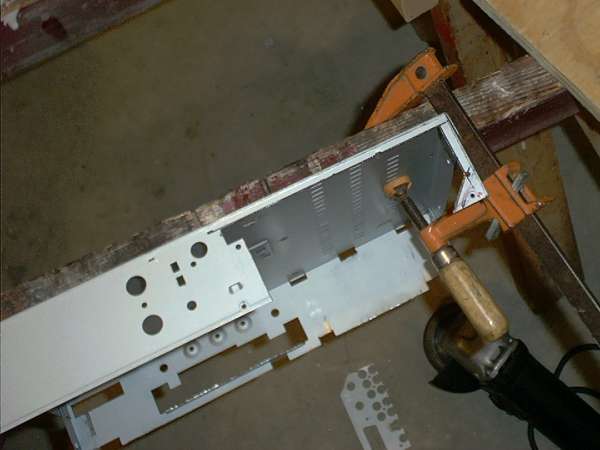
Some further trimming is required.
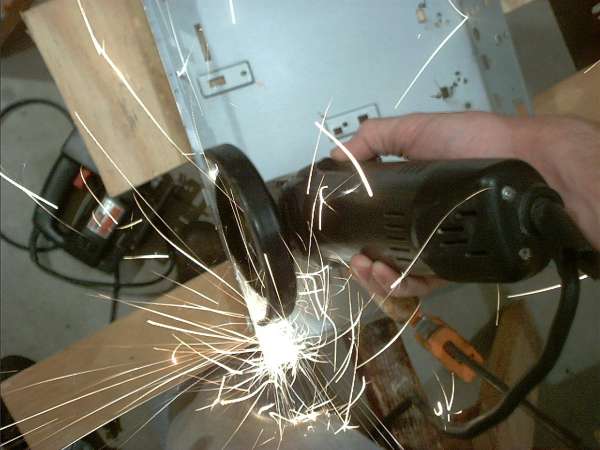
Positioning the power supply.
The PSU is positioned in an unconventional manner. The wiring requirements forced the supply to be placed with the fan pointed toward the floor and the AC power connector toward the rear panel of the chassis. In any situation the power supply would not have fit completely inside the case, but this odd placement provides the best compromise between looks, airflow, wiring, and component fit. The power supply is bolted to the chassis through holes drilled in the side of the supply. To mount the supply, Wrenches must be inserted into the supply.

Mounting the HDD and CD-ROM.
The hard drive and CD-ROM are mounted together on a 3.5" to 5.25" drive bay adapter. The bay adapter is mounted to the cover of the case such that the CD-ROM is externally positioned.
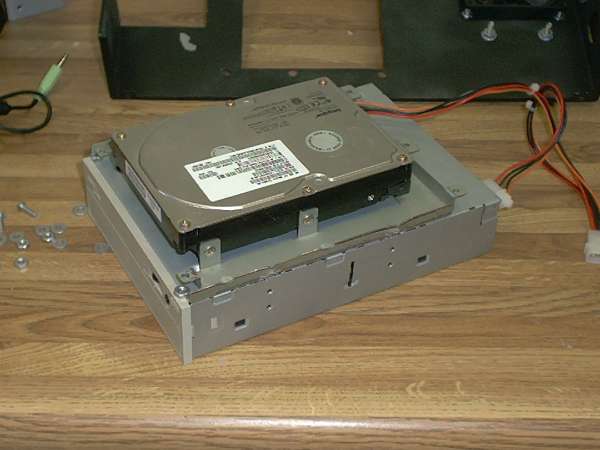
An additional bracket on the rear of the chassis supports the extra weight of the drive "sandwich".
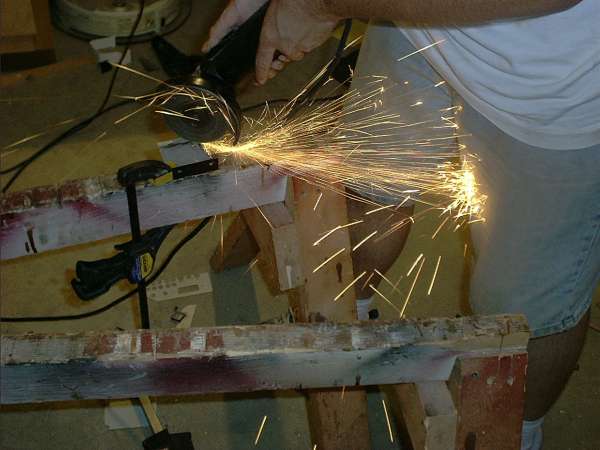
Bending the bracket to shape.
[image /casemods/dragon/ultra_dragon_cut12.jpg "
Bending the bracket to shape."]
The bracket is trimmed for size and appearance.
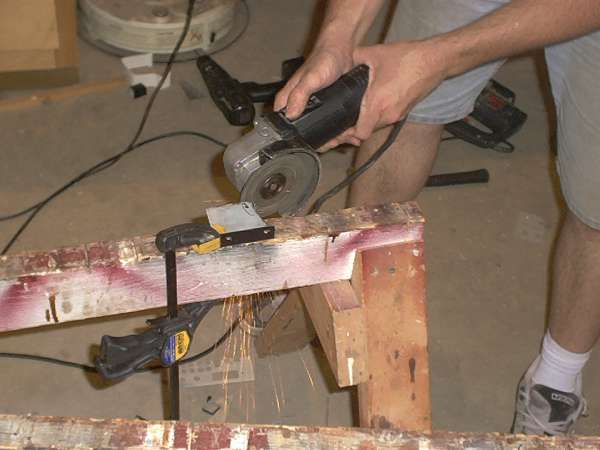
Creating chassis support legs
The legs are cut from an aluminum mesh satellite dish. The curved aluminum frame of the dish lends a unique character to the support legs.
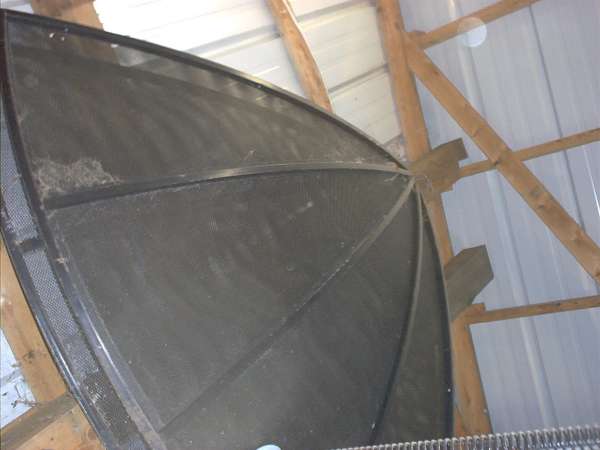
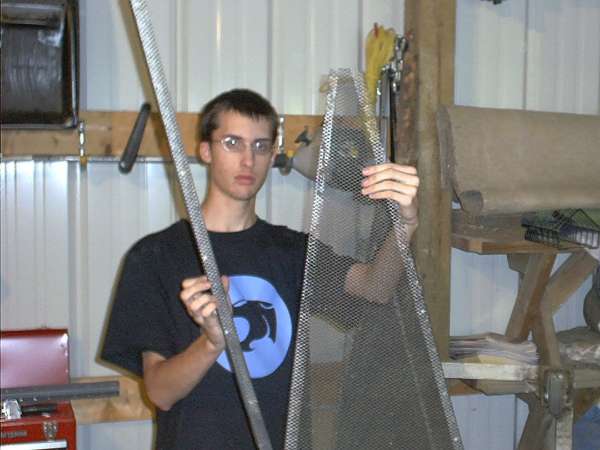
Mike shows the hacked dish panels. The panels provide a lot of material for future projects.
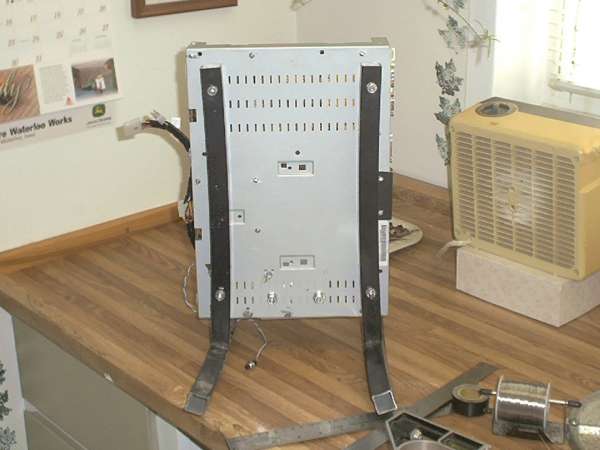
Holes are drilled through the legs and chassis for bolts. In order to stabilize the finished case, feet will be added to the legs.
Ventilation and decorative elements.
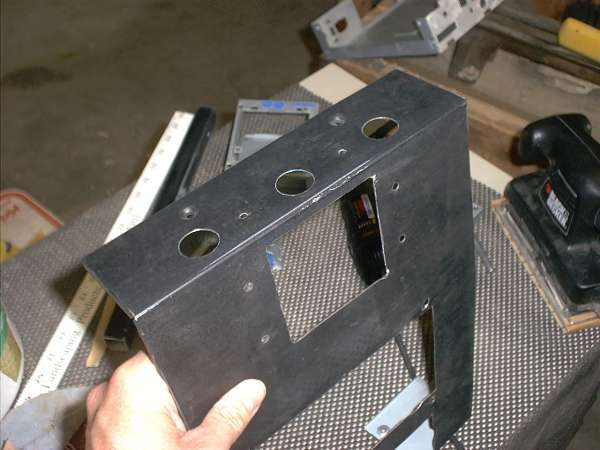
The three holes across the top wee added after a quick test revealed the need for a hot air exhaust. The square hole in the front provides space for a Thermaltake Smart Fan II. This fan adjusts it's speed via remote temperature sensor. Here, the sensor was placed on the bottom side of the heatsink adjacent to the processor core. This 80mm fan provides plenty of air circulation for the entire machine. Tests using Quake III have yet to push the temperature of the CPU beyond 107°F using this cooling system. The heatsink is a Thermaltake designed for low profile server applications. The exhaust holes and fan hole will be trimmed with decorative wooden panels.
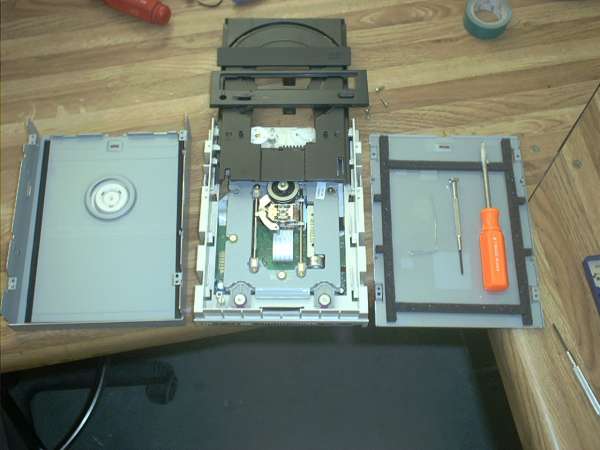
The externally mounted CD-ROM is to be painted and further camouflaged with a decorative wood panel. This unit is a Lite-On 40x12x48 CDR. This unit is inexpensively priced and disassembles easily and quickly.
Creating the decorative wood elements.
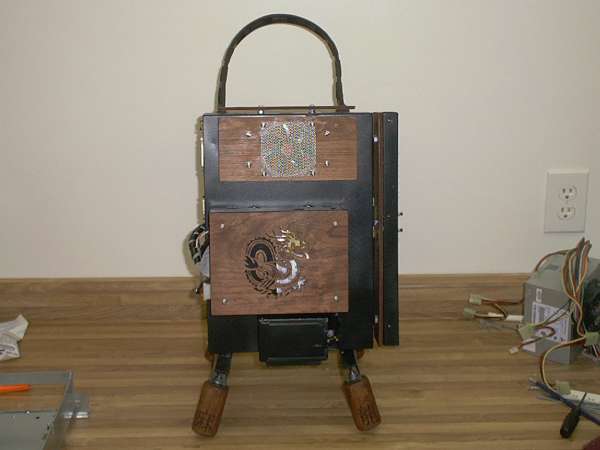
The feet to support the case are turned from solid cherry stock. The front legs are longer than the back so the case rests at a slight angle. This maximizes the stability of the case.
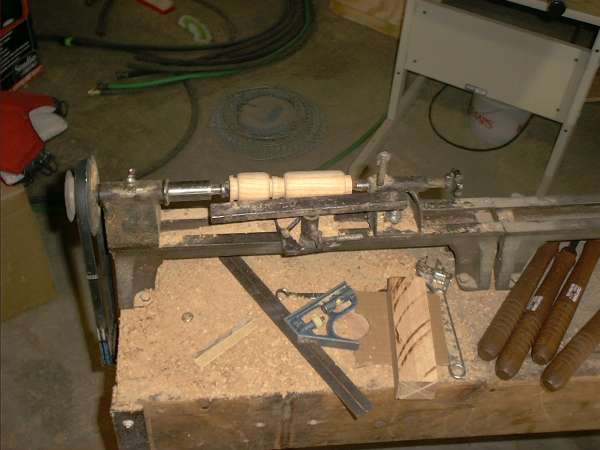
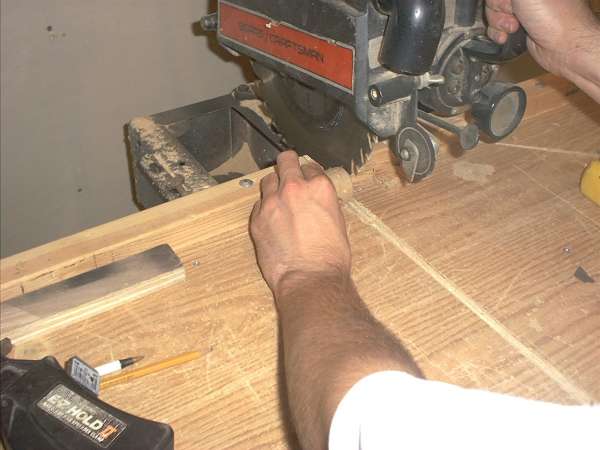
After turning the feet are trimmed to length. Next, the feet are bored out and a mounting hole is drilled.
To enhance the appearance of the feet, carved Chinese characters are added. The carving was done using a Dremel rotary tool, and a sharp X-acto knife. After the characters are carved, India ink is applied for visibility.
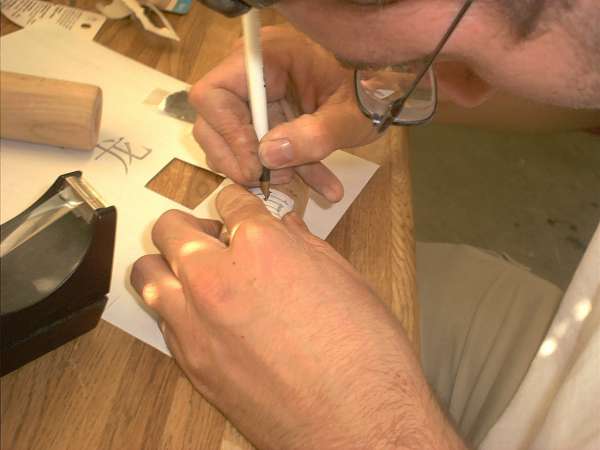
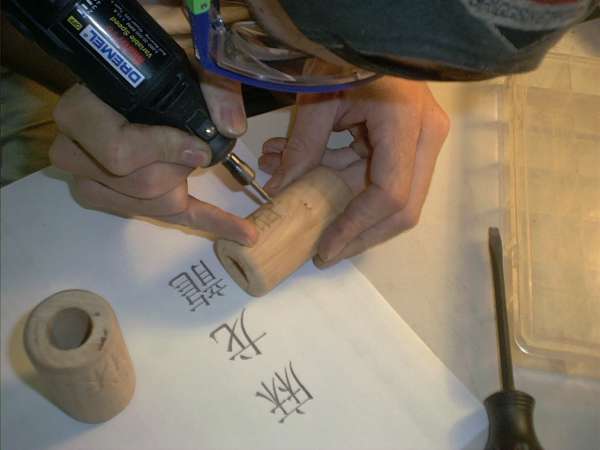
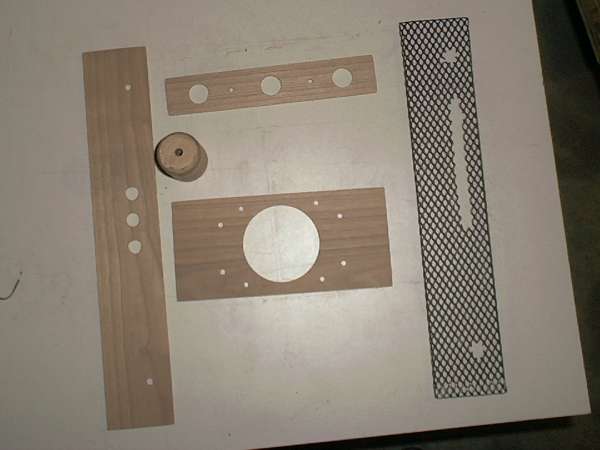
Originally, the front panel was to be formed from the aluminum mesh of the satellite dish. Later, the elements were changed to wood to tie the design together.
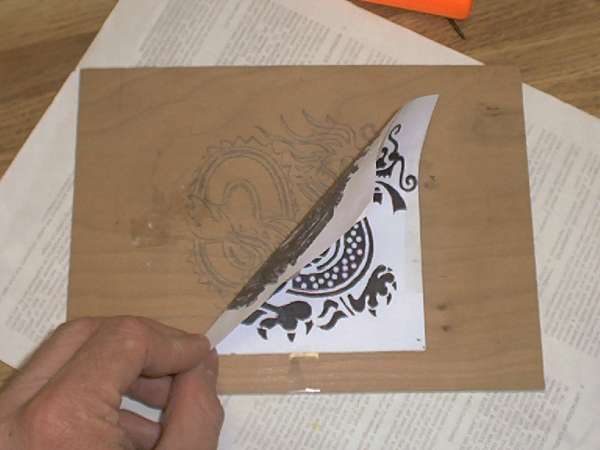
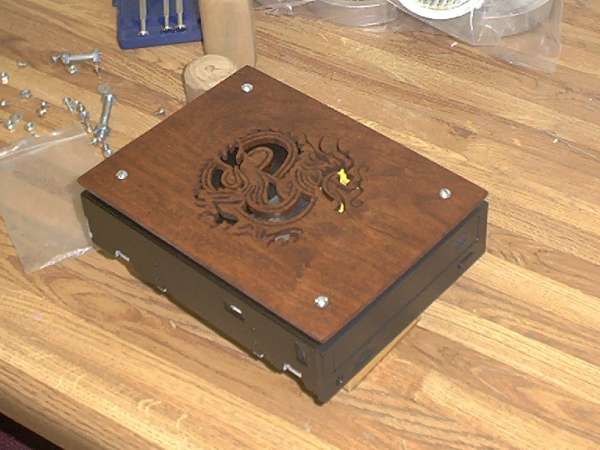
For visual interest, a dragon design is cut into CD-ROM cover panel.
painting
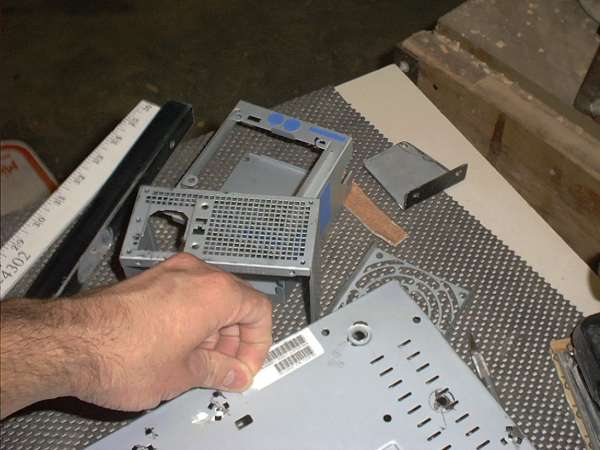
To remove sticker and label adhesive residue, use isopropyl alcohol and 220 sandpaper or steel wool. Tape off any labels or stickers you want to be preserved.
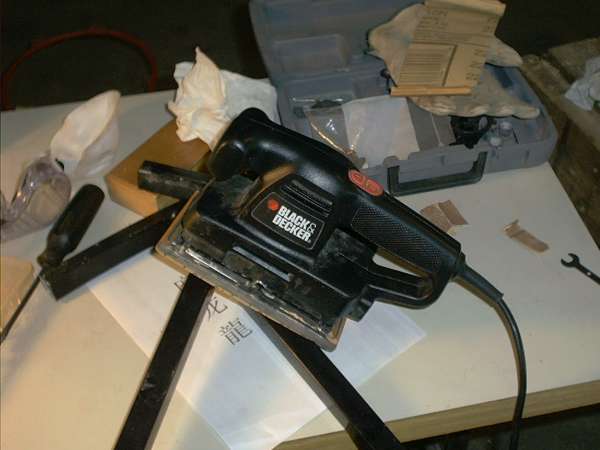
Sand the surfaces smooth. An orbital sander with 220 sandpaper works well.
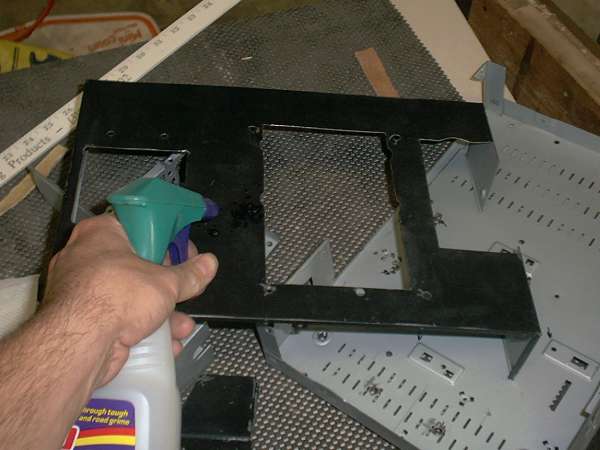
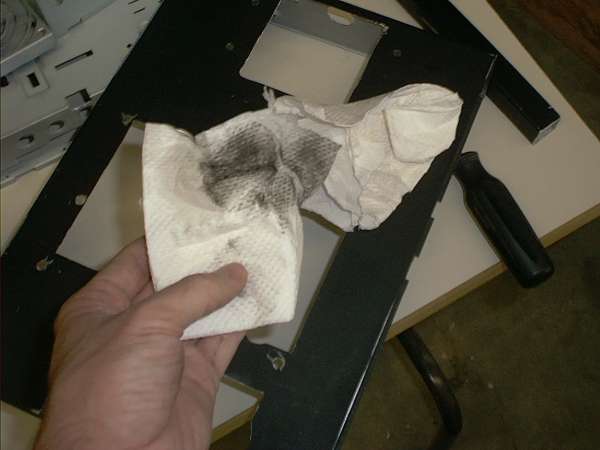
Degreasing cleanser removes sanding and cutting oil residue.
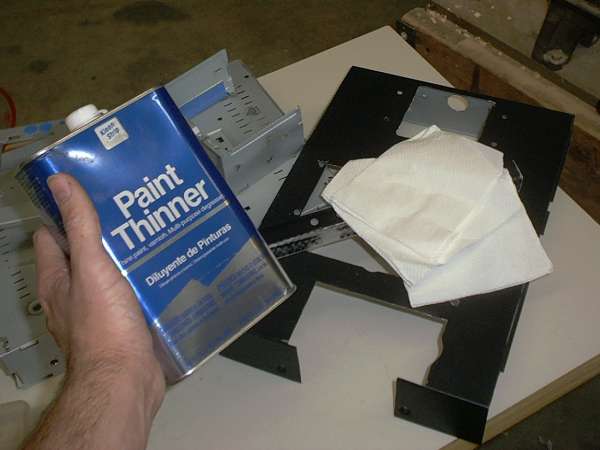
Paint thinner removes any cleanser residue and lingering paint dust.
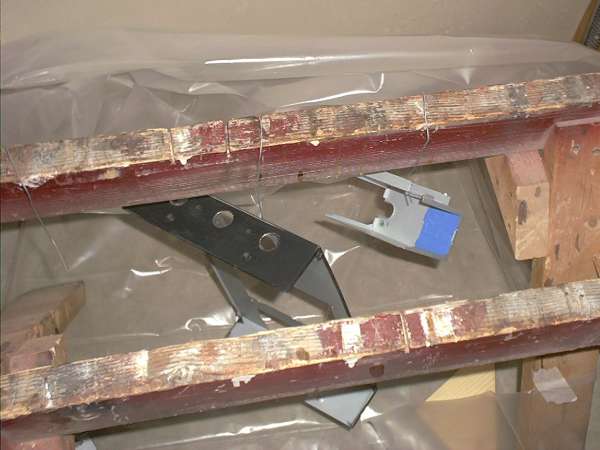
A tent formed with sawhorses and plastic sheet keeps overspray in check. Hang components using wire hooks to ease handling. Use several light coats of paint to avoid runs. Using flat paint as a base coat and a separate clear coat, painting time can be reduced to a matter of a few hours. Flat paint and clear coat require only a few minutes between light coats.
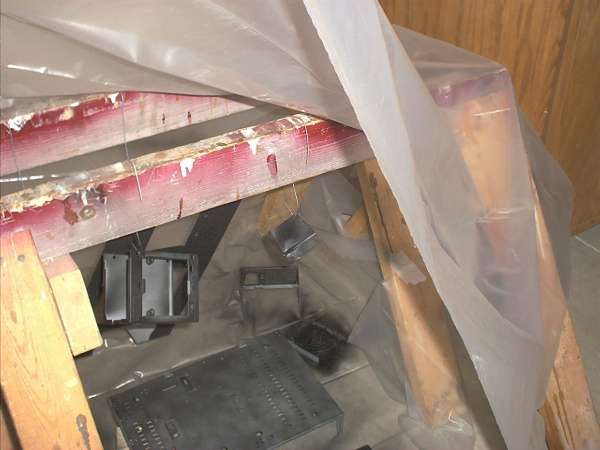
Clean the parts after they've dried for at least a few hours. At this time, remove the masking tape. Use a sharp knife to score the paint along the edge of the masked area to prevent peeling.
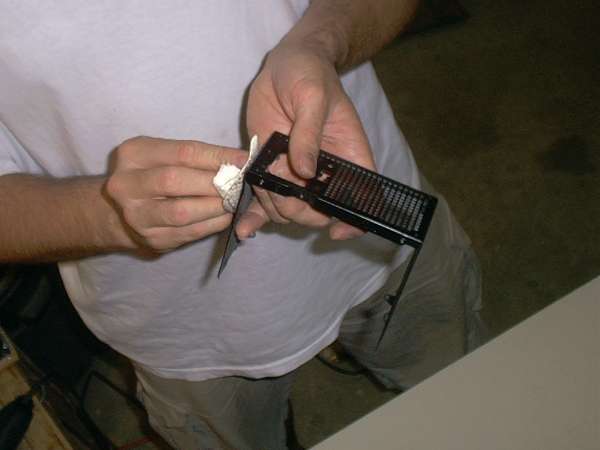
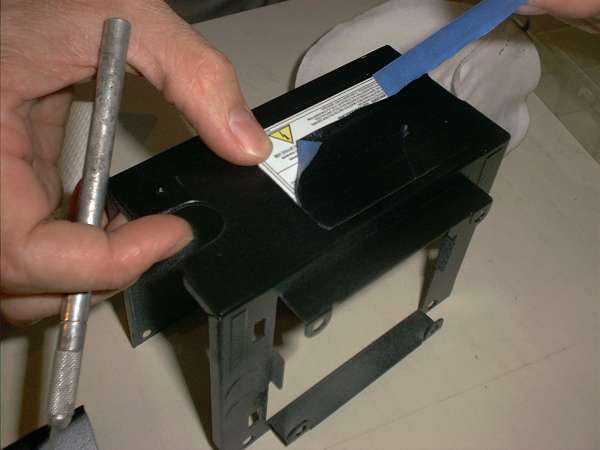
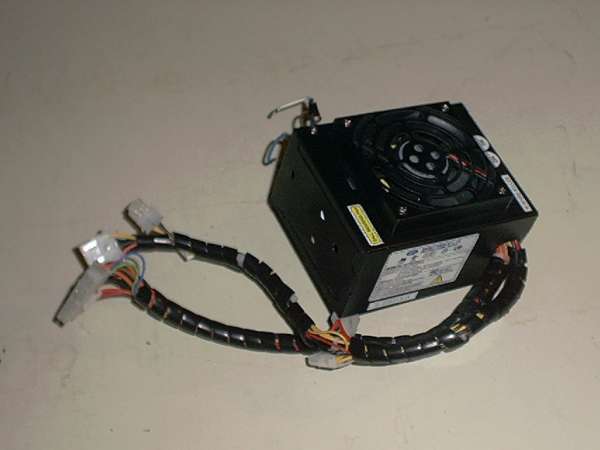
The finished and assembled power supply.
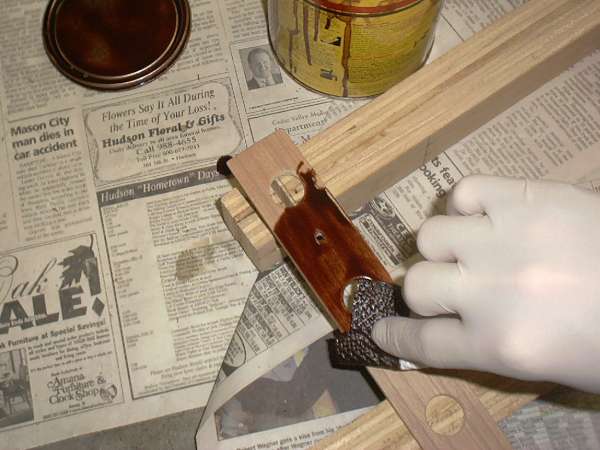
The wood components were sanded with 220 sandpaper. Use a tack rag to remove the sanding dust. Apply stains and finishes according to the directions on the can.
The CD-ROM, painted and trimmed with the dragon panel.
electrical
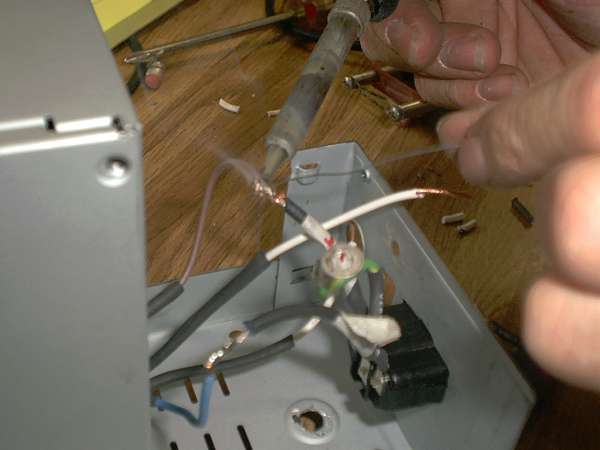
The power socket on the PSU was extented to the back panel of the chassis.
The feet are internally lit with red LED's. The wires are hidden in the support legs.
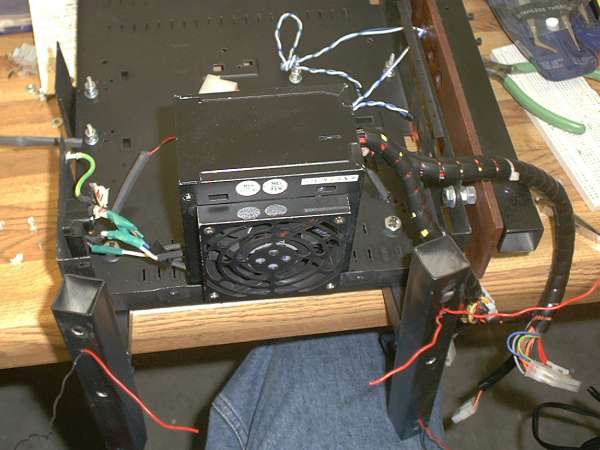
The cooling fans are wired and tested.
end product
Back

Front
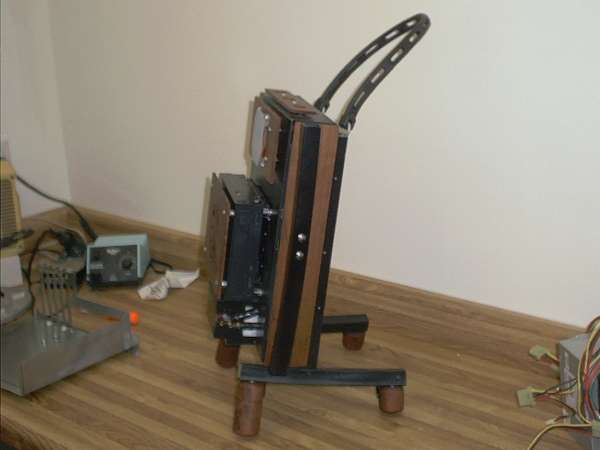
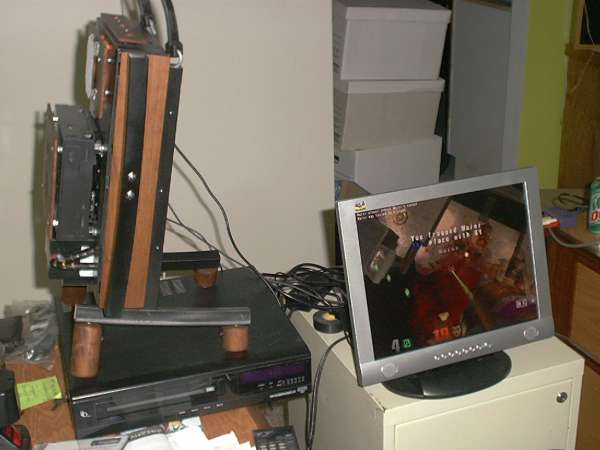
Side
Action
update
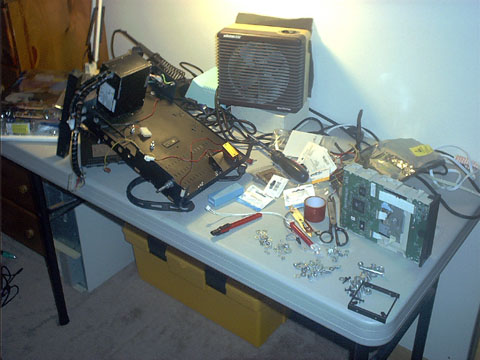
The Dragon machine spent very little time as a LAN gaming rig, but instead spent a ton of time recording DJ sets. I found a cheap suitcase after I built the rig and modified it hold the display, peripherals, and cables for bringing it on the road. After a couple years of hard work I had to do a little clean up and updating. I upgraded the CPU, added some new lighting, and upgraded the CPU cooling fan.
I installed a new switch for running the lights.
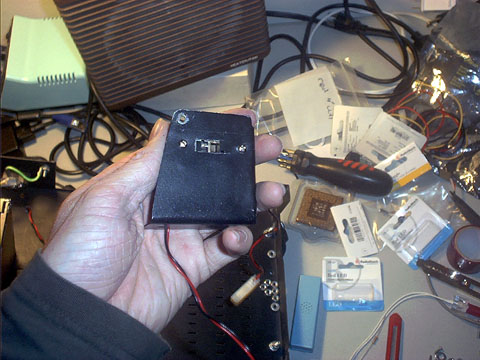
Running new lighting wires.
I installed LED lights under the decorative dragon cover on the CDR drive.
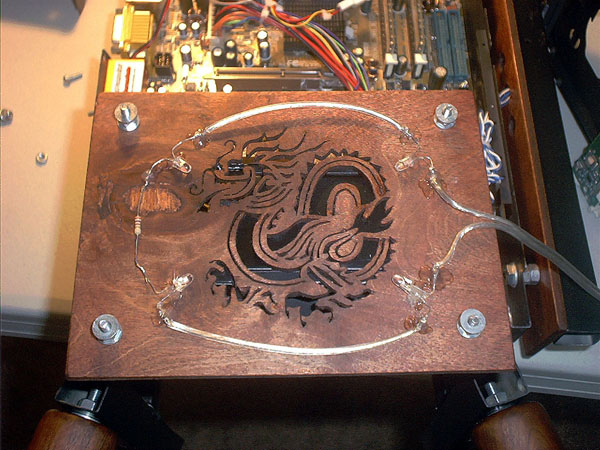
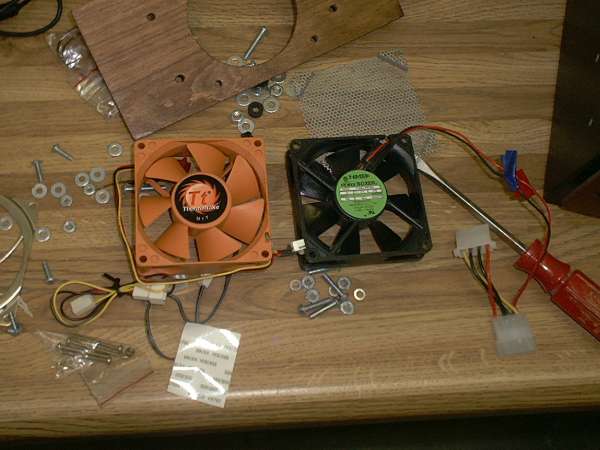
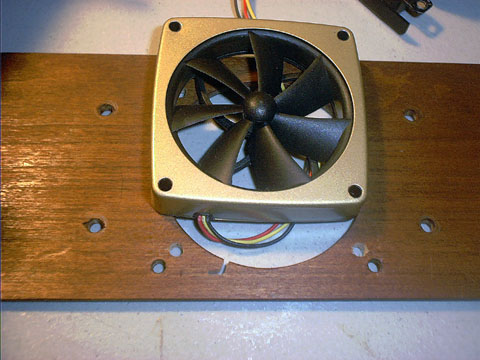
I replaced the CPU cooling fan with a Y.S. Tech tip drive magnetic fan
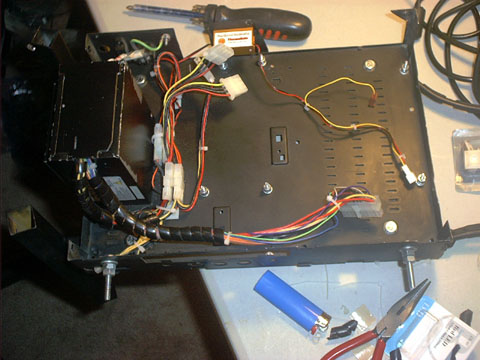
I installed a new fan control switch.
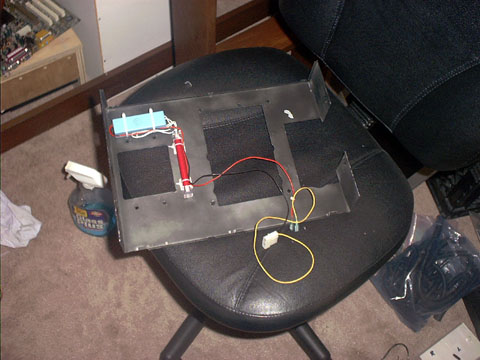
A new CCFL bulb and inverter mounted on the case cover.
Stuffing the motherboard back into the case with a new heatsink and upgraded CPU.
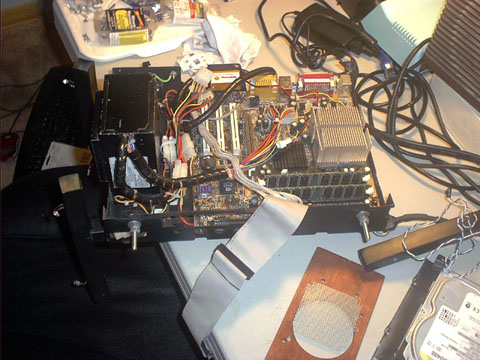
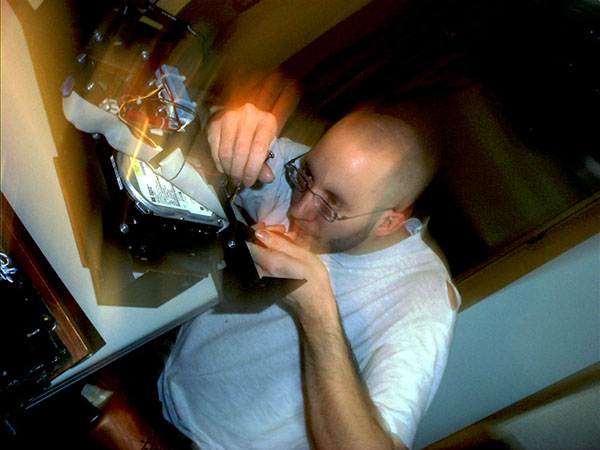
Me routing cables and folding IDE ribbons.
Up an running with full lighting restored.
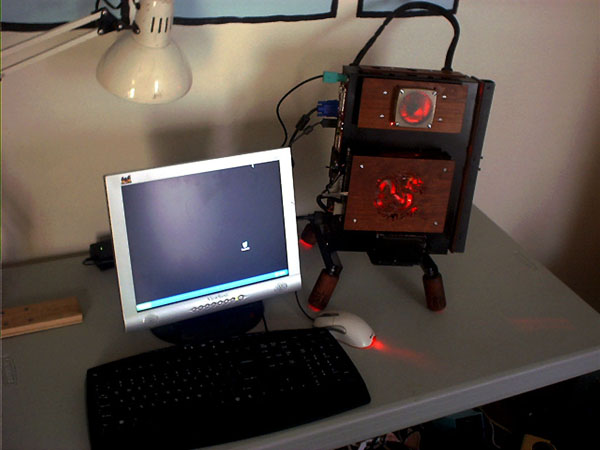
magazine photo shoot
Some time in 2005 I was contacted by a computer magazine in China that wanted to show some photos of the case. These are a few photos I shot for the magazine.
